Miss Mel Babe Tutorial
August 18th 2011
By KMLDesignz
Supplies need
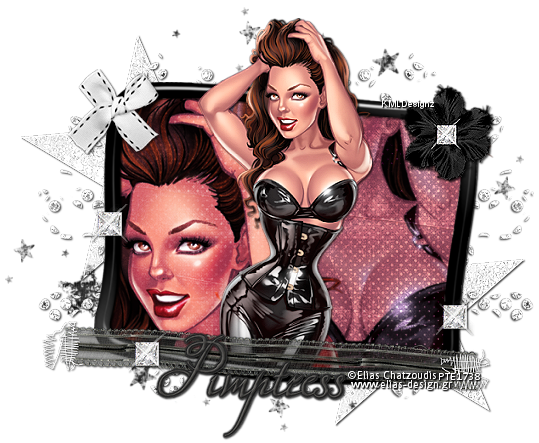
Tube of choice, I am using PTU Tube by ©Elias Chatzoudis
www.elias-design.gr
You need a license to use it, you can get that here
Scrap kit of choice, I am using FTU kit by Pimpd Designz
http://pimp-your-tags.blogspot.com/
You need to go to the facebook page of her store and like them
in order to get the kit, its worth it! :)
Go Here
Font of choice, I am using Zoe
Let's get started.
Open up pd-frame-04, c/p as new layer, resize 2 times @ 80% smartsize,
sharpen once, click inside your frame with your magic wand, expand by 3.
Open up pd-pp-09, c/p as new layer, resize down some and sharpen at least
2 times, click invert and delete the excess that hangs over, add drop shadow
with these settings to your frame layer, V&H-1 Opacity-100 Blur-2.00 Color-BLK
Open up your tube of choice and depending which one your using, resize nicely and
sharpen at least twice and put it nicely into your frame. Add
a clarify to your tube using 5 for the setting, this is under
enhance photo in PSP. Add same drop shadow as before.
For your frame when you bring the tube below that layer, duplicate the frame once
and bring one below the tube and one above, erase anything that covers the tube
that shouldn't be covering.
Let's decorate.
Open up pd-lace-02. c/p as new layer, resize twice @ 80% smartsize, sharpen twice
and add same drop shadow as before, place this on the bottom of the frame above all layers.
Open up pd-flower-03, c/p as new layer, resize 5 times @ 80% smartsize, sharpen 3
times and add same drop shadow as before. I placed this in top right of the tag.
Open up pd-glitter-01, c/p as new layer, resize twice @ 80% smartsize and sharpen
twice, add same drop shadow as before, duplicate and mirror so you have 2 peeking out.
I placed this below all layers.
Open up pd-bling-02, c/p as new layer, resize 4 times @ 80% smartsize, sharpen 3 times
and add same drop shadow as before, I duplicated twice to have 3 and placed them on the frame,
use sample as a guide or place as you like to.
Open up pd-ribbon-03, c/p as new layer, resize 6 times @ 80% smartsize, sharpen 3 times
and add same drop shadow as before, place in the top left of the tag.
Open up pd-star-01, c/p as new layer, duplicate once and place these in the top left and bottom
right of the tag, peeking out some, sharpen both once and add same drop shadow.
Open up pd-star-02, c/p as new layer, resize twice @ 80% smartsize, sharpen, duplicate once
and mirror and flip and place this one on top peeking out some, place the other
near the bottom peeking out some.
Open your font of choice, add your name and any copyright info that belongs and
save as a png or jpg and your done with the tutorial.
Thanks for trying my new tutorial!!


0 comments:
Post a Comment