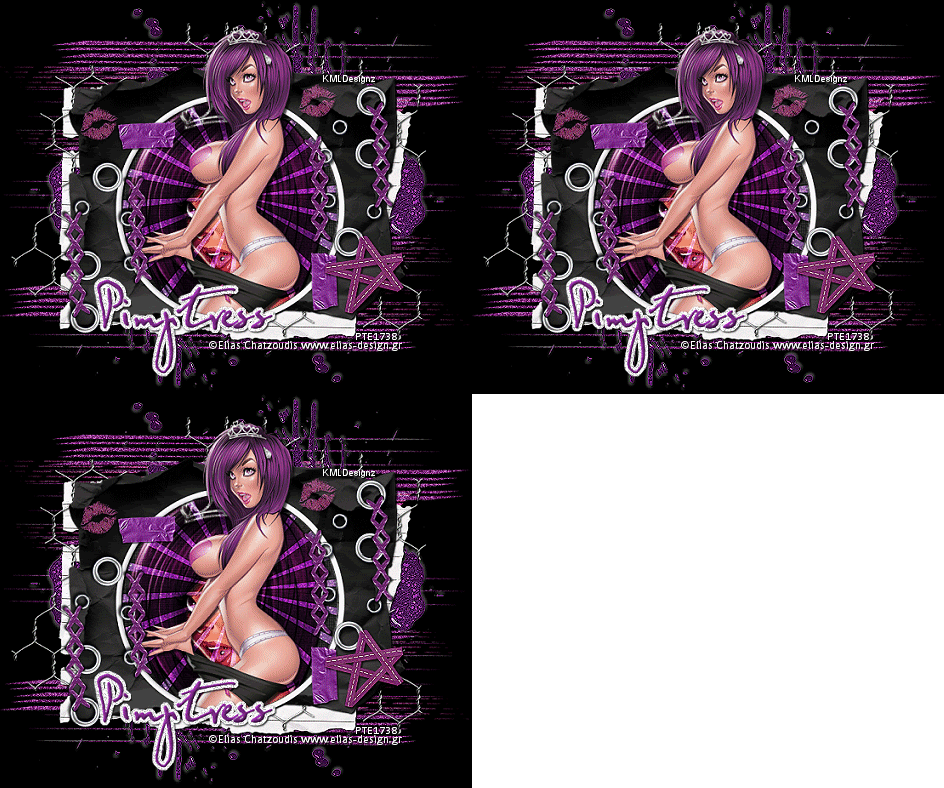
Hot Teena Tutorial
By KMLDesignz
July 30th 2011
Supplies need:
Tube of choice, I am using PTU tube By ©Elias Chatzoudis
www.elias-design.gr
You need a license to use it and you can get that here
Scrap kit of choice, I am using PTU kit Teen Queen by Pimpd Designz
http://pimp-your-tags.blogspot.com/
You can get that here and here
Filter Factory J-Toners (optional)
Font of choice, I am using Federico
Let's get started
Open up your supplies and minimize for now
Open up a new image 700*500, we will resize later on if needed.
Open up pd-frame-01, c/p as new layer, resize once @ 80% smartsize, sharpen once.
Click inside your frame with your magic wand, expand by 3
Open up pd-pp-07, c/p as new layer resize 3 times @ 80% smartsize, sharpen at least 2 times.
Invert then delete the excess that hangs over, bring this layer below the frame layer. Select None.
Open up your tube and depending on the tube, if it has a close up to the face you can do this step
or you can use the whole tube to do it.
Resize the tube at least once nicely, bring it below the frame layer but ABOVE the paper layer,
erase any that hangs over, now on the blend mode, change it to hard light, or play with them and
choose the one you like or looks best depending on your supplies.
Now take your normal size tube, c/p again and resize nicely depending which one your using,
place this on top of the frame layer, duplicate the frame and bring one below the tube and
one above, the one above, erase any that covers your tube. This next step is optional.
Add toners to your main tube layer. Do this once.
Red-12 Green-14 Blue-11
Let's Decorate!
Open up pd-fastener, c/p as new layer, resize this 3 times @ 70% smartsize, and sharpen twice,
add drop shadow, V&H-1 Opacity-100 Color-BLK Blur-2.00 duplicate and flip then mirror and place
nice on the other side of the tag, use my tag as a guide.
Open up pd-tape-01, c/p as new layer, resize 3 times @ 70% smartsize, sharpen 3 times, add
same drop shadow as before, place on the lower right of the tag, use sample as guide, duplicate
and rotate this 90 degrees to the right and then place this one on the top left of tag, again
use my sample as a guide or place were you like or want it.
Open up pd-ribbon-03, c/p as new layer, resize 4 times @ 70% smartsize, sharpen 3 times, add
same drop shadow as before and place this in the bottom right of tag, use sample as guide or
go your own way and make it your own.
Open up pd-kiss, c/p as new layer, resize 6 times @ 70% smartsize, sharpen 3 times, add
same drop shadow as before, lower the opacity to 64, place on top left of the frame, duplicate
and place this one on the other side, use sample as guide or place were you like.
Open up pd-wire, c/p as new layer, resize once @ 70% smartsize and sharpen twice, add same
drop shadow as before, place this behind all layers nicely so it peeks out some.
Open up pd-notebook-paper, c/p as new layer, bring this below all layers, sharpen twice, add
same drop shadow as before. Have it peek out nicely behind all the layers.
Open up pd-glitter-02, c/p as new layer, resize once @ 70% smartsize and sharpen 3 times, duplicate
and flip then mirror, place behind all layers and have it peak out nicely.
Open up pd-print-01, c/p as new layer, resize once @ 85% smartsize, sharpen once, place behind all layers,
duplicate, flip and mirror so its nicely on top and bottom, add same drop shadow
but change the opacity to 53, merge together these 2 layers.
I added noise to this layer and brought to Animation Shop, you can do this as well or skip.
Open up your font of choice, add your name and any copyright info that belongs on the tag,
save as a png or jpg and save, and your done!!
Hope you enjoyed my tutorial.


0 comments:
Post a Comment